
If you’ve ever wondered how to create your own sensory bin, below is a step-by-step guide to create your own sensory bin at home! I’ll go over how to start, making your own coloured rice and some tips for using age appropriate material for your little ones!
I love making sensory bins and incorporating manipulatives that not only support a child’s sensory exploration but that also helps to build their language, fine motor skills and imaginative play. You can use just about ANYTHING to create your sensory bins – I think that’s what I love most about them.
Note: None of the links posted here are sponsored in any way, I’ve just shared some of my go-to’s to create fabulous sensory bins!
Sensory Bin Components:
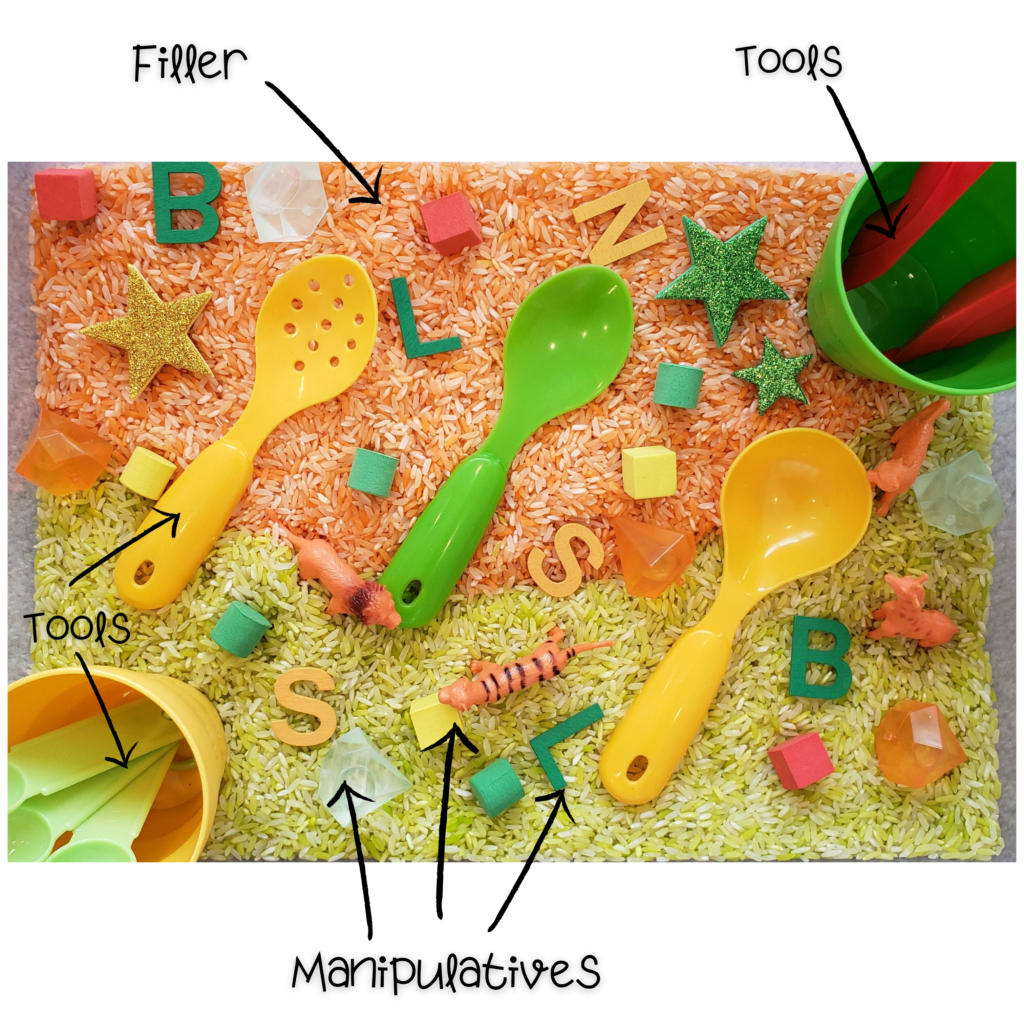
Sensory bins are made up of a few basic components.
- The BIN: You can use just about anything from an aluminum foil tray to an under the bed storage container to a sensory bin table for the actual bin. I used these Sterilite bins most recently and also love this IKEA FLISAT table and storage bins!
- The FILLER or BASE: The filler or base can be made of dry or wet ingredients.
- Dry ingredients generally are a good place to start especially for those kiddos that are more sensitive to certain textures. Examples include:
- Uncooked rice, beans or lentils
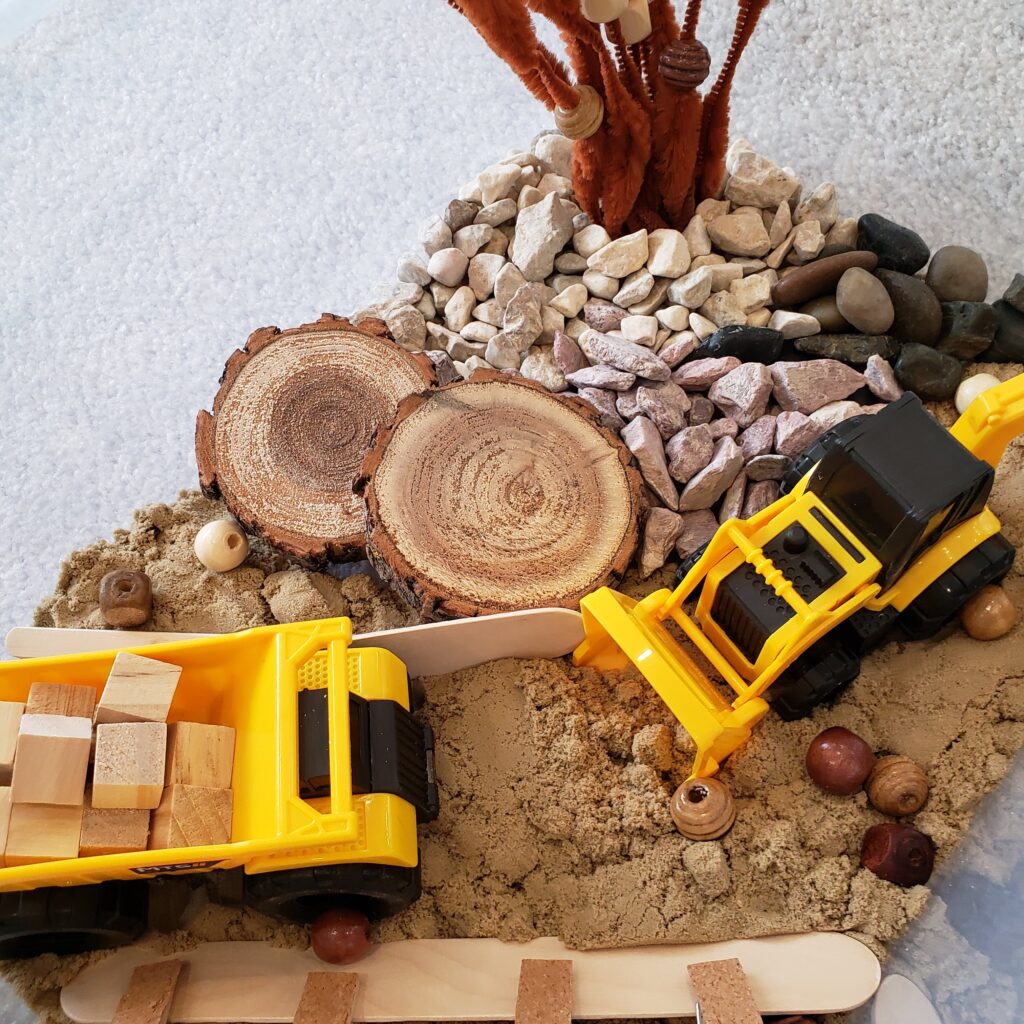
- Kinetic Sand
- Cereal (ex. cheerios or oatmeal)
- Wrapping paper, ribbons, and bows
- Cotton balls
- Rocks/Pebbles
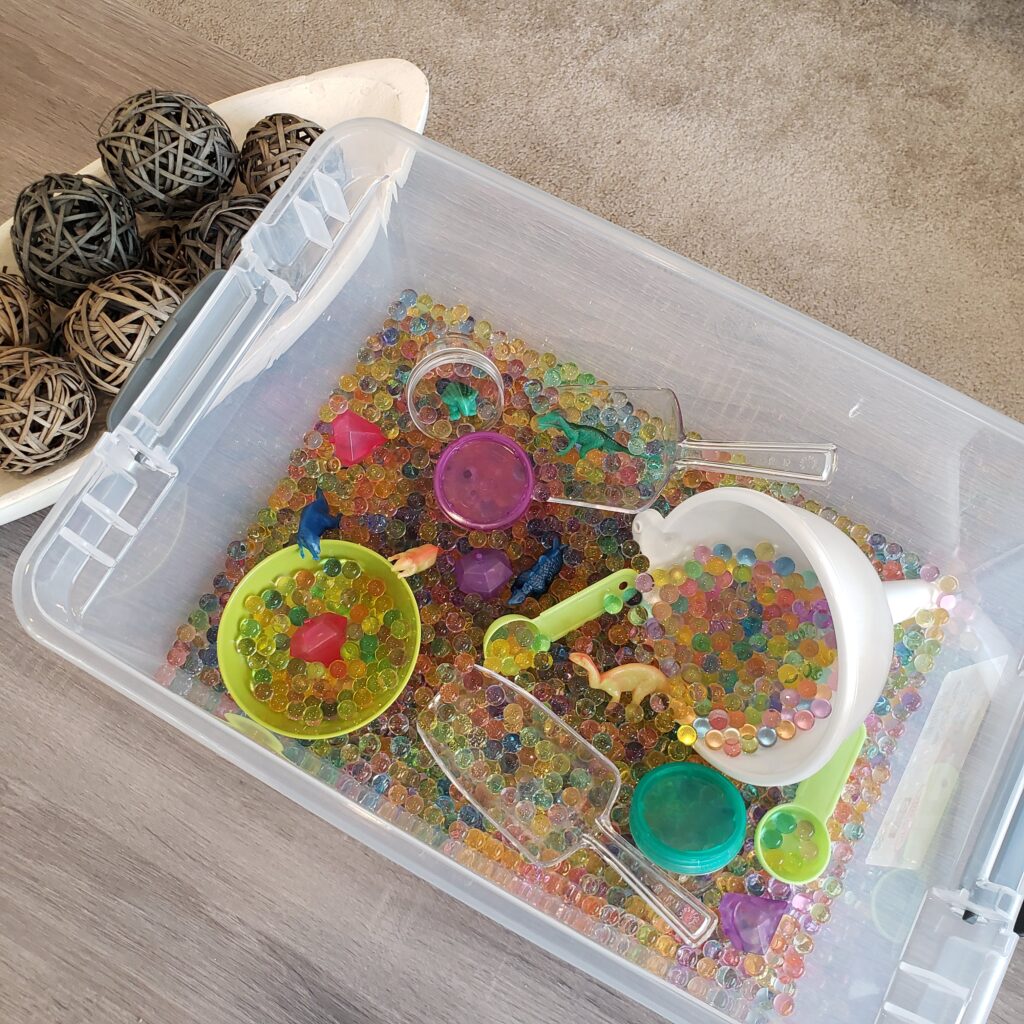
- Wet Ingredients: Keep a towel or napkin nearby for clean-up and as a tool for your kiddo if they are not as comfortable with getting their hands wet or dirty. Examples include:
- Water
- Water beads
- Shaving cream
- Pudding or Jello
- Cooked Pasta/Noodles
- Dry ingredients generally are a good place to start especially for those kiddos that are more sensitive to certain textures. Examples include:
- The Manipulatives: The manipulatives can vary and is optional. They are the additional small objects you can hide or place in your bins. You can use toys or objects that your child is interested or is motivated by. These objects also provide many opportunities to build your child’s language and vocabulary. Examples include:
- Blocks
- Letters
- Gems
- Toy animals
- Toy cars
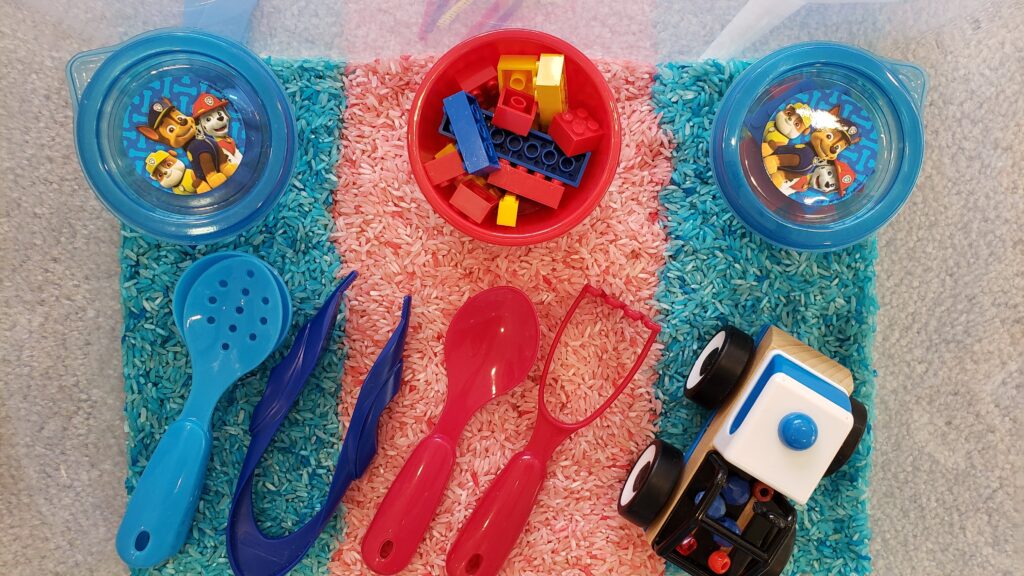
- The Tools: In addition to the various manipulatives you can add to your bin, tools can help support your childs fine motor skills and may also provide a great opportunity to work on self-care skills such as using utensils! Examples include:
- Tongs
- Tweezers
- Funnels
- Spray bottles
- Measuring spoons and/or scoops
Considerations for younger children
Children as young as one-year old can benefit from sensory play. Some ideas to create sensory bins for younger kiddos include:
- Using edible substances as your base. For example, you can use cereal or oatmeal to create the base of your sensory bins. You can even grind up old cereal to create a safe “sand” like texture. Other fillers you could use include:
- Water
- Oatmeal
- Pudding
- Yogurt
- Jello
- For the manipulatives use larger objects such as cut-up pool noodles, scoops, spoons and cups.


How to make your own coloured rice!
Creating your own rainbow rice is incredibly easy and quick to do!
Ingredients:
- 2 cups of rice
- 8-10 drops of food colouring
- 1/4 tsp – 1/2 tsp of vinegar per cup of rice – enough to make the rice a bit wet
Directions:
- Put the ingredients in a ziploc bag or container
- Shake, shake and shake some more to cover all the rice.
- Let it dry on paper towel or styrofoam plates overnight
Recent Comments